Perfectly trimmed hedges are an enviable feature of any garden. Knowing how to trim hedges properly can add aesthetics and value to your home. The process isn’t as hard as you might think.
The key to trimming hedges is understanding the plant’s needs, choosing the right tools, and following a methodical process. From selecting the perfect time of the year to understanding the importance of regular maintenance, trimming hedges can become a rewarding gardening task.
Stay with us to master the art of hedge trimming. In the following sections, we uncover some super handy hedge trimming tips that will make your hedges the talk of the neighborhood. Your dream garden is just a few scrolls away!

1) Selecting the Right Tools and Equipment
Before you begin, it’s essential to have the correct tools and equipment on hand for trimming your hedges:
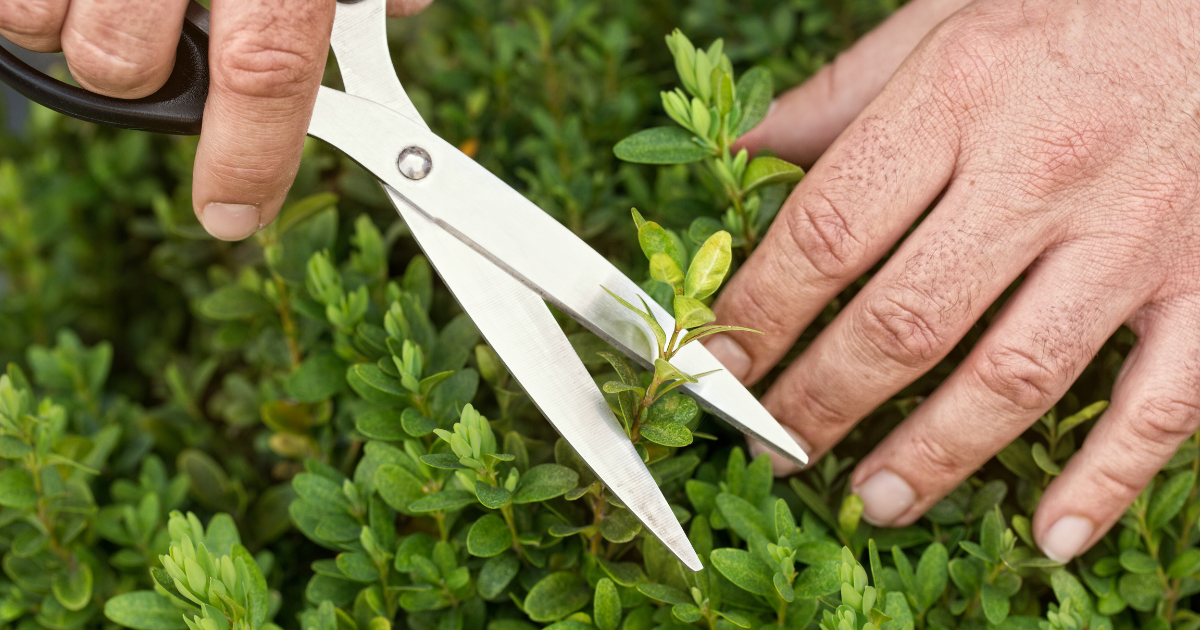
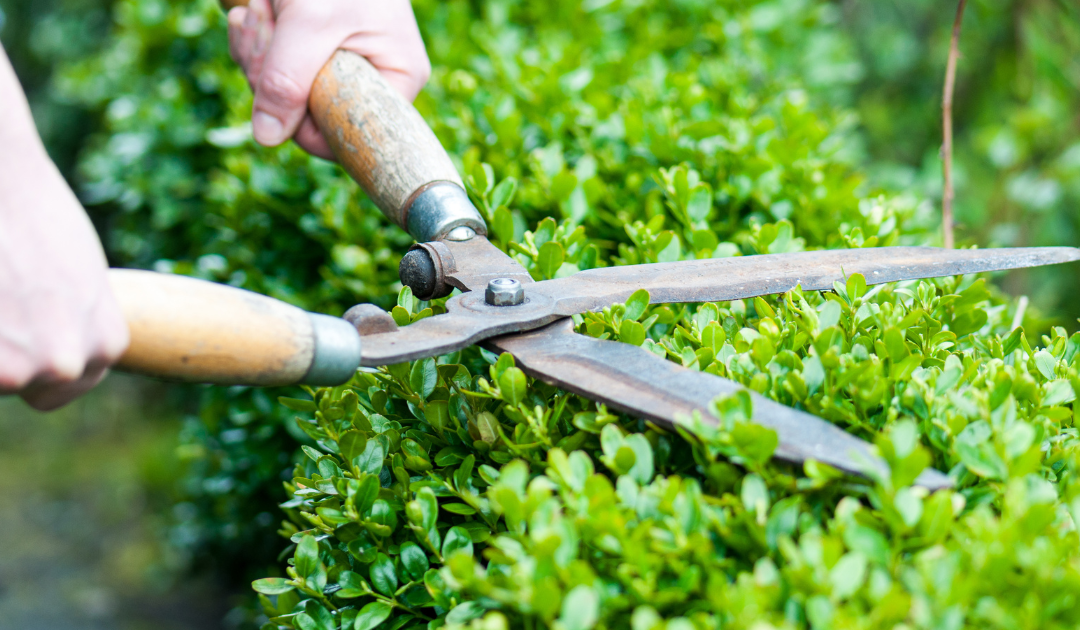
- Hand Shears: These are perfect for light pruning and shaping smaller hedges. Make sure they have sharp blades for clean cuts.
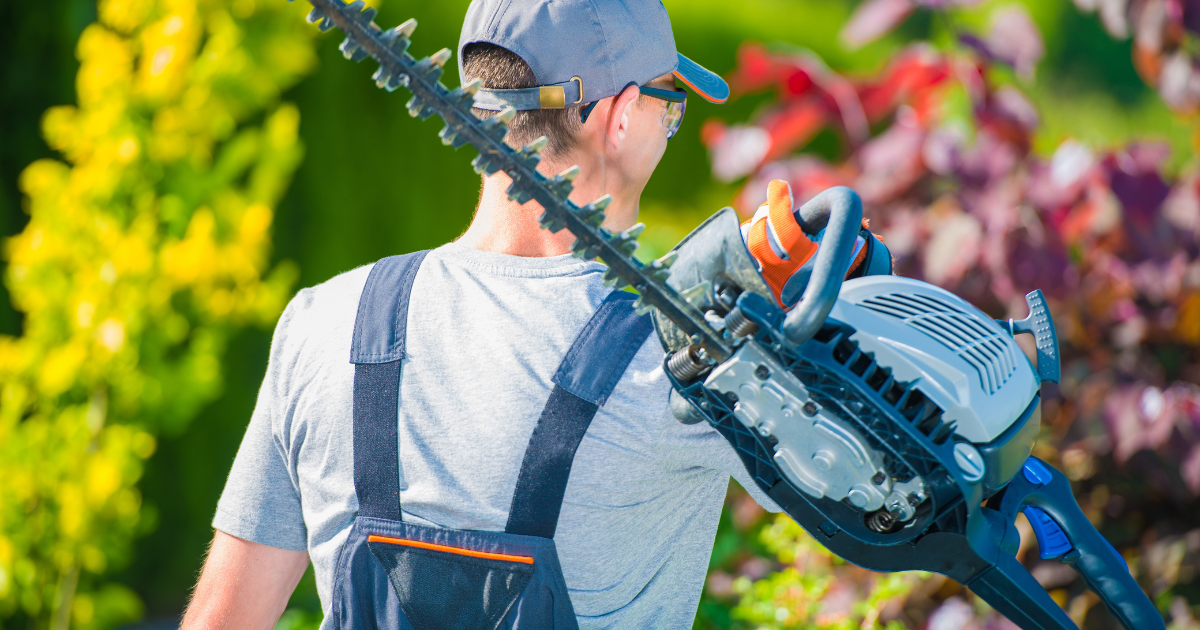
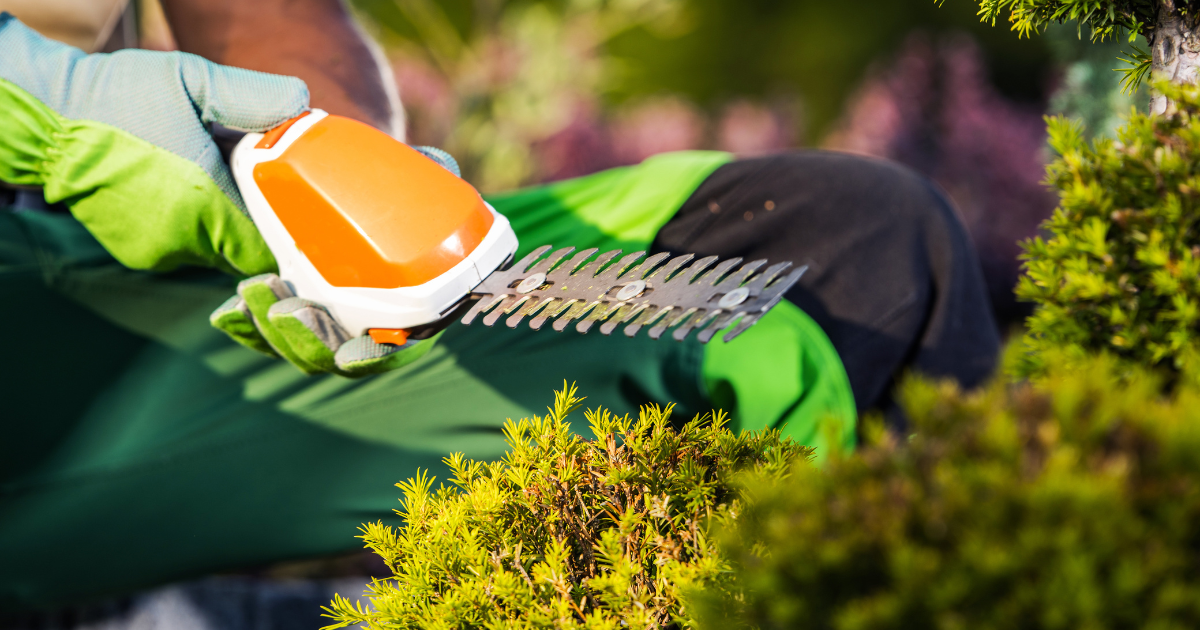
- Power/Electric Trimmers: When you’re dealing with larger hedges or thick branches, an electric hedge trimmer is your best friend. They make quick work of trimming hedges, saving you time and effort.
- Extendable Handles: For those hard-to-reach tops of tall hedges, extendable handles on your tools can be a game-changer. They allow you to maintain an even top without climbing a ladder.
- Bypass Hand Pruners: These are ideal for cutting old wood and the thickest branches. They provide more control and precision compared to other tools.
- Gloves and Eye/Ear Protection: Safety should always come first. Protect your hands from thorns and your eyes and ears from flying debris and noise.
2) Safety First
Before you start your hedge trimming adventure, take a moment to prioritize safety. Start by dressing for the job. Wear sturdy gloves to protect your hands from sharp branches and prickly leaves. Eye protection is a must to shield your eyes from flying debris, and if you’re using power tools, don’t forget ear protection.
Check your equipment before you begin. Ensure cords on electric hedge trimmers are undamaged, and all tools are in good working order. Sharp, clean blades make the job easier and safer to use.
Clear your workspace of any debris that could become hazardous, and make sure bystanders, especially children and pets, are at a safe distance. Hedge trimming isn’t a race – so take your time to do it safely and correctly.
In the next part, we’ll dive into trimming hedges, including when the ideal time is, how to maintain the natural shape, and how to handle overgrown hedges.

3) Assessing the Hedge and Planning the Trim
Before you start, it’s crucial to assess your hedge. Start by taking measurements of the height, width, and length. This gives you an idea of the magnitude of the task at hand and helps determine the tools you’ll need. An electric trimmer with extendable handles will be a lifesaver for tall hedges.
Next, consider your style goals. Are you aiming for a formal hedge or an informal one? Formal hedges are typically neat and symmetrical, requiring more frequent work. Informal hedges, on the other hand, have a more natural shape, requiring less maintenance.
Finally, think about the desired thickness and shape. Most hedges should be slightly narrower at the top than at the bottom. This trapezoidal shape allows sunlight to reach the lower branches, promoting healthy growth. Hedge trimming isn’t just about maintaining size; it’s also an opportunity to enhance your hedging plants’ shape and overall health.

4) Understanding the Types of Hedges
Understanding the type of hedge you have is essential for proper trimming:
- Evergreen vs. Deciduous: Evergreen hedges, like boxwood or holly, provide year-round privacy and color, while deciduous hedges lose their leaves in winter but often offer beautiful flowers or autumn colors.
- Formal Clipped vs Informal Shrubbery: Formal hedges are tightly clipped and structured, perfect for creating clear boundaries or geometric designs. Informal hedges are more relaxed and ideal for wildlife gardens or cottage-style settings.
- Growth Habits: Consider the plant species’ growth habits when choosing your hedge. Some grow quickly and require regular trims, while others grow slowly and need less maintenance. The thickness and shape you desire will also influence your choice.
5) Timing and Seasonal Considerations
This isn’t an anytime, anywhere activity. It’s more of a dance with the seasons. Let’s break it down:
- Spring/Summer Growth Spurts: Spring is a key time for most hedges. The new growth is just kicking in, and your hedge is ready for a trim. An early spring trim sets the tone for the season, encouraging thick, lush foliage. But don’t forget about summer. A light pruning during this period helps keep the hedge in check.
- Fall Preparing for Winter: As autumn rolls in, it’s time to prep your hedges for winter. Late fall trimming removes old wood and the thickest branches. This allows the plant to focus its energy on new growth come spring. But remember, don’t prune too late into the winter. Your freshly trimmed hedges need time to heal before the first frost hits.
- Avoid Heat Stress in Peak Seasons: Here’s a pro tip: avoid trimming your hedges in the heat of the day. The ideal time is late afternoon when the sun is less intense. This helps prevent heat stress, which can damage your plants.

6) Starting with the Top and Working Downward
Now, let’s talk technique. Always start at the top and work your way down. Here’s why:
Shape Top First as Guide for Sides: The top of the hedge sets the stage. It’s your guide for the rest of the trimming process. Aim for a flat or slightly rounded top, depending on your preference. Once you’ve nailed the top, it’s easier to shape the sides.
Work Top to Bottom Systematically: Working from top to bottom ensures you don’t miss any spots. Use an electric or gas trimmer for large hedges and manual shears for smaller ones. Be systematic. Trim a section, step back, assess, then move on to the next. And remember, the bottom should be slightly wider than the top to allow natural sunlight to reach the lower branches.
7) Trimming Technique
Trimming hedges is an art that requires precision, patience, and the right techniques. Here are some pro tips to help you trim your hedges perfectly:
- Angle Your Blades: Matching your blades’ angle to the hedge’s natural shape will help maintain its form. Whether using manual shears or an electric hedge trimmer, this technique can make a big difference.
- Trim Back to Just Above Leaf/Needle Base: Cut back to just above the base of the leaves or needles. This promotes new growth and keeps your hedges looking lush and healthy.
- Cut at an Angle for Water Runoff: Cutting branches at an angle allows water to run off, preventing rot and disease. This is especially important for wooden stakes and most hedges.
- Use Bypass Hand Pruners for Thickest Branches: Bypass hand pruners offer more control and precision than other tools for old wood and the thickest branches.
- Trim More Frequently During Growth Spurts: Early spring and late summer are typically when hedges experience growth spurts. Light pruning during these periods helps keep the hedge in check.
8) Precision Cuts is Key
Precision is key when it comes to maintaining formal hedges. One way to ensure uniformity is by using guide strings. Attach a string line between two stakes at the desired height and use this as a guide for your horizontal cuts. Aim to make snips every 4-6 inches, ensuring you don’t cut too deeply into the hedge.
Vertical cuts are your friend when it comes to the sides and top. An electric or gas trimmer is ideal for large hedges, making the task quicker and more efficient.

9) Creating Smooth and Even Surfaces
When trimming, creating smooth and even surfaces is the key to achieving that picture-perfect finish. Start by identifying uneven spots and misshapen areas in your hedge. Use your electric trimmer or manual shears on these areas, trim a hedge back to just above the base of the leaves or needles. This encourages new growth and keeps your hedge looking lush and healthy.
Next, make minor corrective snips as needed. Small, precise cuts can make a big difference, whether you’re dealing with tall hedges or flowering shrubs. Remember it’s always better to err on the side of caution. It’s easier to trim more later than to deal with over-trimmed hedges.
10) Cleaning Up Debris and Finishing Touches
Once you’re done with the bulk of the work, it’s time to take care of the fallen debris. Use a garden blower or a brush to sweep away the clippings from your lawn or planting area. This not only keeps your garden tidy but also helps protect your plants’ health by preventing rot and disease.
Finally, step back and visualize your work. Look at the shape, the symmetry, and the overall quality of your trimming. If something doesn’t look quite right, don’t be afraid to make touch-ups. Whether it’s using bypass hand pruners on thick branches or giving the top of the hedge a final snip with your hand shears, these finishing touches can enhance the beauty of your hedges.

11) Post-Trimming Care
Even if you’ve finished, the care doesn’t stop there. It’s time to tend to your hedge’s post-trim needs.
- First up is watering. After a good trim, your hedges may be feeling a little stressed. Some gentle watering can help them recover and encourage new growth. This is particularly important during dry spells when the ground can become parched.
- Next, consider fertilizing. A balanced, slow-release fertilizer can give your hedging plants the nutrients they need to thrive. Apply it according to the manufacturer’s instructions, generally around the base of the plant.
- Lastly, keep an eye on your hedges’ regrowth speed and thickness. Rapid, dense regrowth is a sign of a healthy hedge. If you notice slow or sparse regrowth, it might be time for extra TLC. This could mean adjusting watering levels, changing your fertilizer, or consulting a plant specialist for advice.
Conclusion
Learning how to trim hedges is not just about wielding a hedge trimmer or hand shears skillfully. It’s about understanding the needs of your hedges, from the right timing and seasonal considerations to the correct trimming techniques. It’s about creating smooth and even surfaces, cleaning up debris, and providing post-trimming care.
With these tips in your gardening toolkit, you can maintain your formal hedges, flowering shrubs, tall hedges, and even your informal hedges. So, grab your tools, head out to your garden, and let the trimming begin.

