
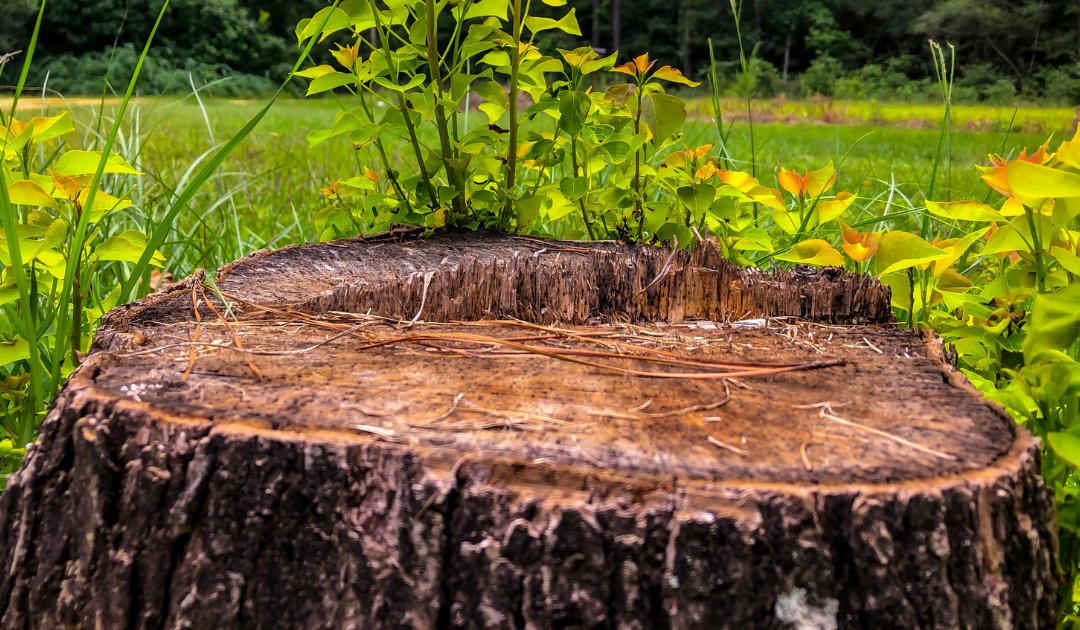
Embarking on the journey of tree stump removal can be daunting, especially when you’re unsure where to start. Whether it’s an old tree stump or a leftover stump from a recent felling, removing it is essential for aesthetic reasons and to prevent new trees from sprouting.
Additionally, tree stumps can be a tripping hazard and provide a home for pests. Here are ten best practices on how to remove a tree stump efficiently so that you can have a beautiful, hazard-free yard.
1) Identifying the Type of Tree Stump
Before you can begin removing a tree stump, it’s important to identify the type of tree stump you’re dealing with. There are essentially two types – stump from a deciduous tree and stump from a coniferous tree. Deciduous trees have broad leaves, while coniferous trees have needle-like leaves. Knowing this will help determine which removal method is best suited for the type of tree stump.

2) Assessing the Stump and Surrounding Area
Before you begin the removal process, take time to assess the stump and the surrounding area. This step is crucial for successful removal and will save you time and effort down the road.
- Measuring Stump Size: The size of the stump determines the removal method. Smaller stumps are often manageable with manual removal or stump grinders, while larger tree stumps may require more heavy-duty methods like renting heavy equipment or employing a tree service.
- Identifying Tree Type: Understanding the type of tree you’re dealing with can help inform your approach. Some types of wood are more porous and easier to remove, while others have formidable root systems that can complicate the removal process.
- Checking for Decay and Damage: Inspect the stump for signs of decay. A rotting process already underway can make the stump easier to remove. Look for signs such as discolored wood, fungi, or insect activity.
- Evaluating Soil Conditions: Soil conditions affect how easily removing a tree stump is. Loose, sandy soils make digging out the root system easier, while clay-rich soils may require more effort.
- Locating Buried Utilities: Check for buried utilities before digging or drilling deep holes. You don’t want to hit a gas line or electrical cable accidentally. Your local home improvement store or local fire department can provide information about utility locations in your area.
Once you’ve assessed the stump and surrounding area, you can decide on the most effective removal method. From stump grinders to chemical stump removers, there are many ways to tackle this task.

3) Safety Precautions and Protective Gear
Safety is a top concern when undertaking a project like a tree stump removal. The right protective gear and adherence to safety protocols can prevent injuries and ensure a smooth removal process.
Protective Clothing and Equipment
When tackling a task like removing a tree stump, wearing protective gear is essential. This includes sturdy work gloves to protect your hands from sharp objects and splinters. Steel-toed boots are also recommended to safeguard your feet from falling debris or accidental strikes with tools. Additionally, safety glasses or goggles are crucial to shield your eyes from flying wood chips or dirt.
Establishing a Safe Workspace
Before beginning the removal process, establish a safe workspace. This involves clearing the area around the stump of tripping hazards or loose debris. If you’re using heavy equipment or a stump grinder, ensure ample space for maneuvering.
Proper Tool Usage and Lifting Form
Understanding how to use your tools properly is a key aspect of stump removal. Whether using a stump grinder, digging bar, or drill, familiarize yourself with the equipment and follow the manufacturer’s instructions. Always bend at your knees, not your waist, to avoid back injuries when lifting heavy objects.
4) Clearing the Area Around the Stump
To effectively remove a tree stump, you need a clear working area. This involves relocating nearby objects, removing underbrush and obstacles, and digging around the stump perimeter.
- Relocating Nearby Objects: Start by moving any objects near the stump. This could be outdoor furniture, plant pots, or yard decorations. Removing these items will provide more space and prevent them from getting damaged during removal.
- Removing Underbrush and Obstacles: Next, remove any underbrush, fallen leaves, or rocks around the stump. These obstacles can interfere with your tools and make the removal process more challenging.
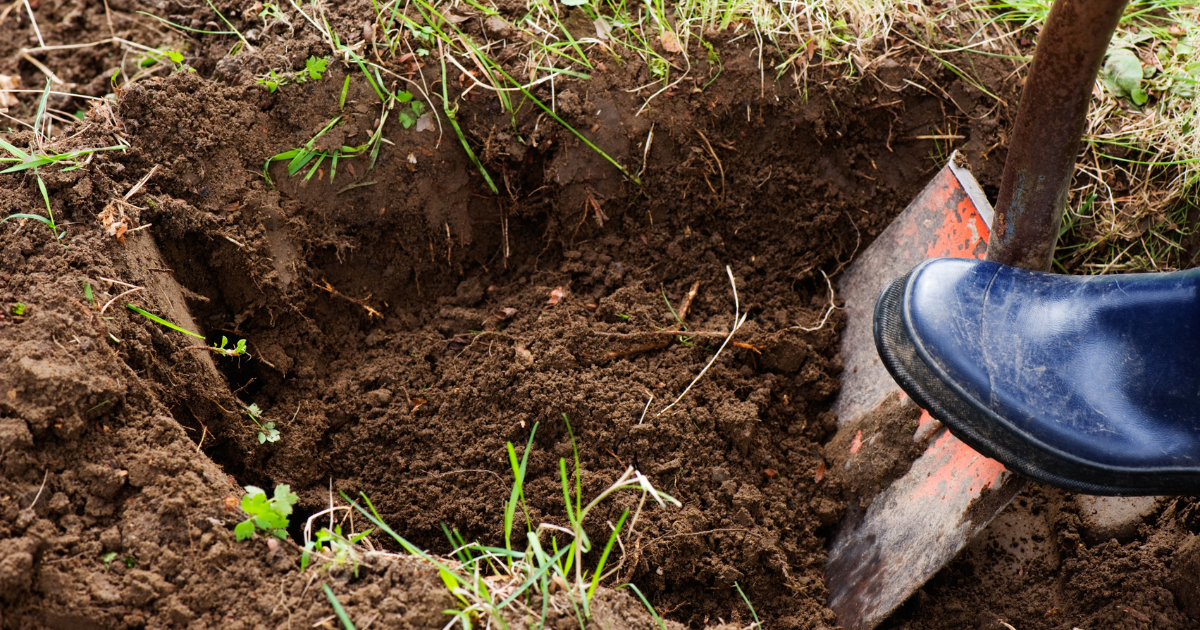
- Digging Around Stump Perimeter: Finally, begin digging around the stump perimeter. This exposes the tree’s root system, making it easier to remove. You can use a shovel or a digging bar for this task. Be sure to dig deep enough to reveal all the roots.
5) Tools and Equipment for Stump Removal
The tools you select for stump removal can make a significant difference in the speed and efficiency of the process. Having a mix of power and hand tools at your disposal is advisable.
Power Tools (Grinder, Chainsaw, Drill)
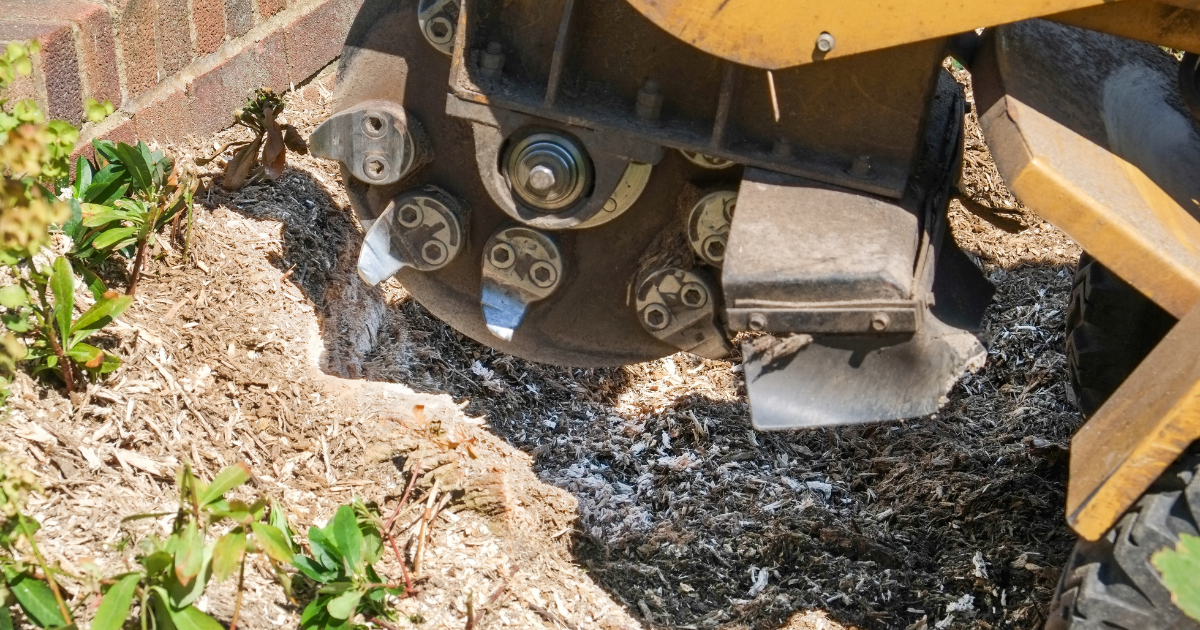
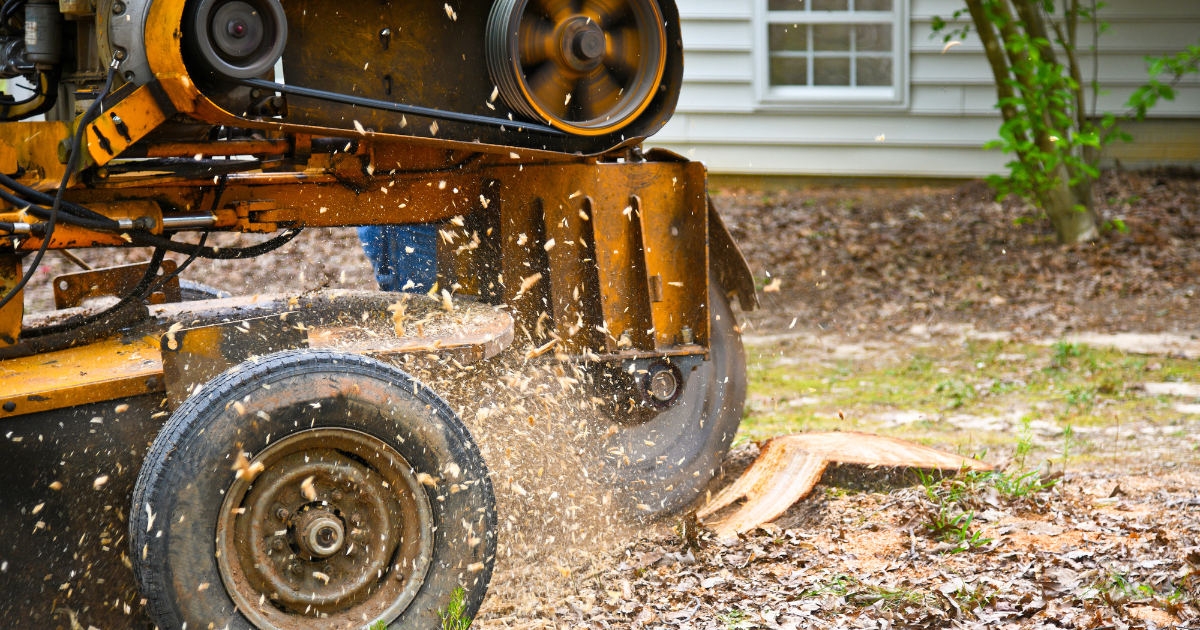
Power tools are essential when dealing with a large stump. A stump grinder is a powerful piece of equipment that can grind a tree stump to below ground level.
On the other hand, chainsaws offer an effective way to cut through tree roots quickly and efficiently.
Drills, particularly those capable of drilling deep holes, are excellent for use with chemical stump removers or when you intend to burn the stump.
Hand Tools (Shovel, Axe, Hoe, Saw)
Hand tools are indispensable for manual stump removal. Shovels and hoes are great for digging around the stump and exposing the root system. An axe or saw can cut through smaller roots, making the stump easier to remove.
Equipment Rental Considerations
Renting heavy equipment like a stump grinder can save money and time, especially when dealing with large tree stumps. When considering equipment rental, factor in the size of the stump, the type of tree, and the soil condition. Consult with your local home improvement store for advice on the most suitable equipment for your situation.
6) Step-by-Step Stump Removal Process
With the right tools and safety precautions in place, you’re ready to remove your tree stump. Follow these general steps for effective stump removal.
Step 1: Prepare the Work Area
Begin by clearing away any objects and debris obstructing your work area.
Next, put on proper protective gear such as gloves, goggles, and sturdy footwear to safeguard yourself during the task.
Also, establish a safe working perimeter around the stump by marking boundaries to prevent accidents or interference. These precautionary measures will help create a secure environment for successful removal.
Step 2: Cutting Roots with Saw or Axe
Cut through the tree roots around the stump using a saw or axe. Wear protective gear, including steel-toed boots, during this process. Cut as many roots as possible to make the stump easier to lift.
Step 2: Cutting Using Automatic Tools
If you use a stump grinder or chainsaw, follow the manufacturer’s instructions carefully. These automatic tools make the process much quicker and easier. Begin by starting your tool and positioning it near the edge of the stump. Slowly lower the cutting wheel or blade onto the stump and let it grind/cut through it.
Step 3: Extracting Remaining Roots
After cutting, use a shovel to dig around the stump, exposing more roots. Cut these remaining roots with your saw or axe. Remember that some roots may be several inches deep, so persistence is key.
Step 4: Lifting and Removing the Root Ball
Once you’ve cut all the roots, you can start to lift the stump. This might require some effort, especially if the stump is large. You may need to use a hoe or a digging bar to leverage the stump out of the ground. A root ball dolly can also be useful for lifting and moving larger stumps.
Step 5: Filling the Hole
With the stump removed, you’ll be left with a hole in your yard. Fill this hole with soil or gravel to avoid potential tripping hazards. If there are any remaining roots, remove them before filling the hole completely.
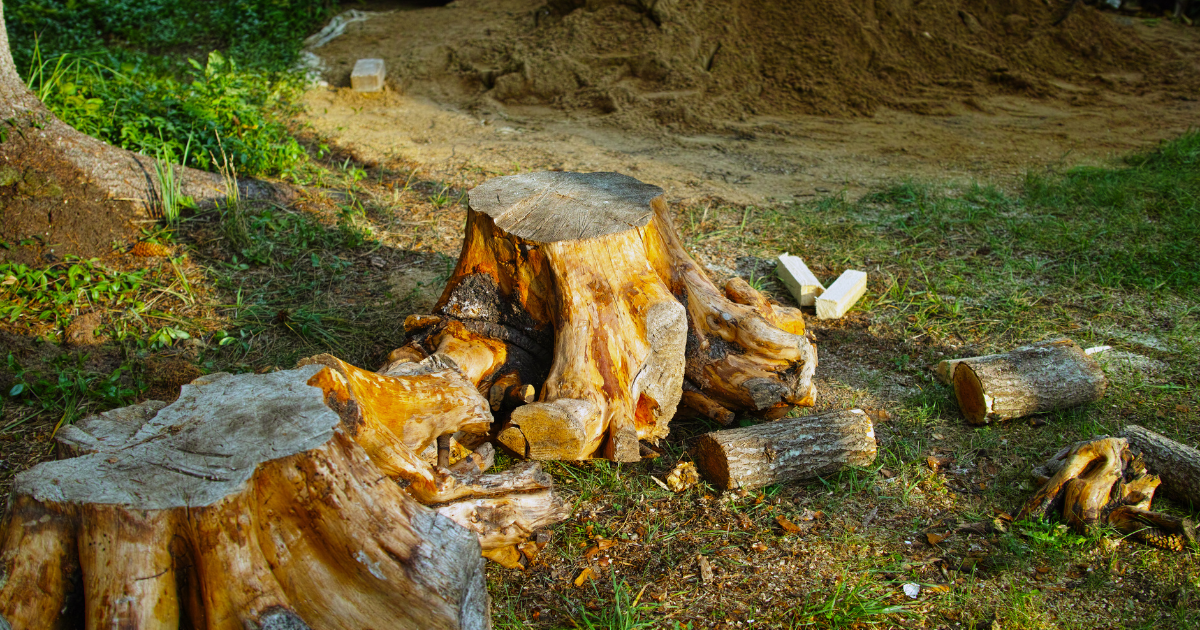
Step 6: Hauling Debris and Disposal
After successfully removing the stump, haul the debris away. You can dispose of the tree stump at a local waste facility, compost it, or use it as organic mulch. Burning a tree stump should be a last resort, as it can impact air quality and safety.
With the right tools, protective gear, and a systematic approach, you can accomplish the task of stump removal. Whether you’re dealing with an old tree stump or a leftover stump from a recent tree felling, remember that patience and persistence are key in this process.
7) Natural and Chemical Stump Removal Options
There are many ways to remove a tree stump, with natural decomposition and chemical aids being two popular options. Both methods have pros and cons; the best one depends on your situation.
Natural Decomposition Method
The natural decomposition method is a more natural method that allows the stump to rot naturally. This process can take three to seven years for large stumps, but it’s an eco-friendly option that requires minimal effort.
To speed up decomposition, drill deep holes into the stump and fill them with high-nitrogen fertilizer or epsom salt. Cover the stump with a plastic tarp to keep the stump moist and accelerate decay.
Chemical Decomposition Aids
Chemical stump removers, usually containing potassium nitrate, provide a quicker alternative and can get rid of a tree stump fast. Drill holes into the porous wood of the stump, then pour in the stump remover. The chemical accelerates the decay of the wood, making it easier to remove the stump. Some people even use a burning process to further break down the stump after applying a tree stump removal product. Remember, proper equipment is essential when handling chemicals.
Comparing Removal Methods
While the natural method is more environmentally friendly, it takes significantly longer than using a chemical stump remover. Thus, chemical removal could be a better choice if you want to remove a tree stump quickly.
8) Filling the Hole and Reclaiming the Area
Once the stump is removed, it’s time to reclaim the land it once occupied. This involves refilling the hole, leveling the area, and deciding what to do with the reclaimed space.
- Refilling and Tamping Down Soil: Start by filling the hole left by the stump with soil and tamping it down as you go to ensure it’s compacted. This is especially important if you plan to plant grass or other plants in the area, as loose soil can lead to uneven growth.
- Leveling and Grading Area: After refilling the hole, level, and grade the area; this ensures that water drains properly and doesn’t pool in the spot where the stump used to be. You can use a rake or a landscaping tool for this task.
- Options for Re-planting: Once the area is level, you can decide what to do with it. Some people plant grass over the area, while others plant a new tree or create a flower bed. Give the soil time to settle before planting, regardless of your choice.
9) Safety and Cleanup Measures
Once you’ve successfully removed your tree stump, it’s time to focus on safety and cleanup. This includes tool maintenance and storage, addressing soil erosion, and a final work area inspection.
Tool Maintenance and Storage
Proper tool maintenance enhances longevity and safety. Clean any dirt or debris off your tools before storing them. For power tools like chainsaws and drills, check for wear and tear, ensure they are in good working condition, and store them safely. Remember, well-maintained tools are crucial for any successful tree stump removal project.
Addressing Soil Erosion
After the stump is removed, there might be a risk of soil erosion, especially if the stump is large. To prevent this, refill the hole with topsoil and tamp it down firmly. Plant grass or other vegetation as soon as possible to help hold the soil together and prevent erosion.
Final Inspection of Work Area
Once the area is clean, conduct a final inspection. Ensure that all stump removal chemicals, if used, are properly disposed of. Check for any remaining roots or stump remains. Leaving these behind could lead to new tree growth.
10) Post-Removal Maintenance and Landscaping
After the tree stump removal, you’ll need to monitor the area for new growth, consider landscaping options, and take steps to prevent future stumps.
- Monitoring for New Growth: New shoots may sprout from the remaining roots even after removing a tree stump. Monitor the area closely and promptly remove any new growth to prevent the tree from regrowing.
- Landscaping Options: With the tree stump gone, you have a blank canvas for landscaping. You can plant grass for a seamless lawn, create a flower bed, or even plant a new tree. The choice depends on your personal preference and the overall landscape design.
- Preventing Future Stumps: Prevent future stumps by choosing the right trees to plant and maintaining them properly. If you need to remove a tree, consider stump grinding. This method removes the stump below ground level, preventing it from regrowing.
Conclusion: Successful Tree Stump Removal Practices
Learning how to remove a tree stump is a valuable skill for any homeowner. Whether you choose a more natural method or chemical removal, safety, patience, and proper equipment are key.
From drilling holes to applying high-nitrogen fertilizer or a chemical stump remover, these practices can help you remove a tree stump quickly and efficiently. After the removal, remember to monitor the area for new growth, refill the hole, and consider your landscaping options. With these practices, you can maintain a beautiful, stump-free yard.