
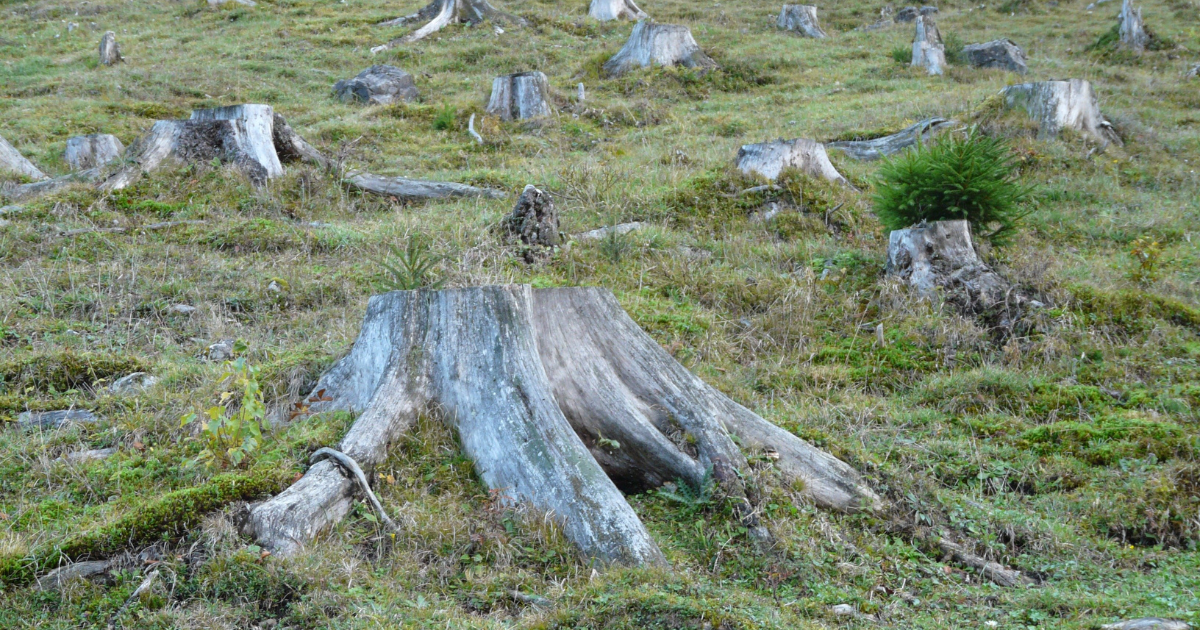
Lurking in your backyard, the remnants of a once towering tree stand, a mere stump. It’s time to learn tree stump grinding. Grinding a tree stump is not just for aesthetics. It’s also about safety and yard health. This is because rotting stumps attract insects, fungi, and other pests.
An unsightly tree stump can throw off your garden’s aesthetic harmony. Therefore, it’s something you will want to deal with swiftly. Tree stumps pose a challenge, but you can conquer this task with the right approach. Stump grinding involves using a machine to completely shred the stump into small woodchips. This method is also faster than chemical stump removers, which usually take four to six weeks for the rotting process.
Intrigued yet? Grinding a tree stump may seem like a Herculean task. But with the right method and a little elbow grease, you can tackle tree stump removal like a pro. This article will guide you through how to grind a tree stump in nine simple steps. Let’s dive in!
Safety Precautions and Equipment Preparation
- Gear Up: Your safety is paramount. Before you begin, ensure you are wearing the appropriate protective gear. This includes sturdy boots, hearing protection, and, most importantly, eye protection. You don’t want any wood chips flying into your eyes!
- Know Your Grinder: Stump grinders aren’t just heavy machinery – they are your key ally in this mission. Take some time to familiarize yourself with all its features. Understand how it works and how best to use it. This knowledge will prove invaluable once you start grinding.
- Handle with Care: Whether you’re dealing with fuel or extension cords, handle them carefully. Mishaps can occur if they’re not managed properly. Always remember that your safety comes first.
Step #1 – Clearing the Area Around the Stump
Now that you’re all geared up, it’s time to prep the battlefield. Start by removing any debris or obstacles around the tree stump. You might encounter other plants or grass—use a shovel or machete to clear these.
But here’s an important tip: if there are underground pipes or wiring near the stump, make sure to mark them. You don’t want to damage these during the stump grinding process. So, clear the area, mark your spots, and you’re ready to go!
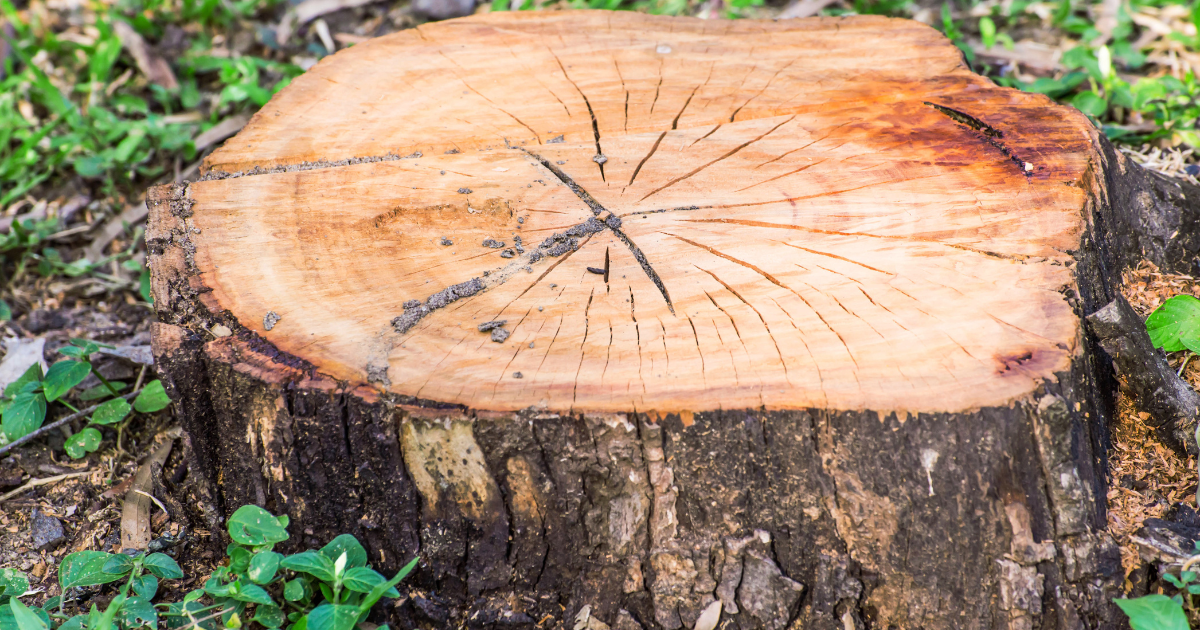
Step #2 – Assessing the Stump
- Type of Wood: The first key aspect to consider is the type of wood. Hardwoods like oak require more elbow grease and time to grind than softwoods like pine. Also, keep in mind the moisture content. Dry stumps may need additional fuel oil for a successful stump grinding process.
- Size Matters: Measure the diameter and height of the stump. The larger the stump, the more time it’ll take to grind.
- Roots Galore: Examine the visible roots. The extent of the root system can pose a challenge during tree stump removal.
- Time Estimate: Based on all these factors, estimate your grinding time. Remember, patience is crucial in this natural process.
- Hazards Check: Lastly, be wary of any embedded metal or other hazards in the stump. These could damage your grinder and turn your DIY stump removal into an expensive repair job.
Step #3 – Trimming the Stump and Removing Debris
- Chop It Down: Using a chainsaw, chop the tree stump down to ground level. This reduces the amount of stump that needs to be ground.
- Clean-Up Time: With a shovel or axe, remove loose bark, rocks, and dirt from around the stump. This ensures a smoother grinding process and prevents the grinder from jamming.
- Debris Discard: Before you start grinding, discard all debris. This minimizes the chances of flying chips or stones during the stump grinding.
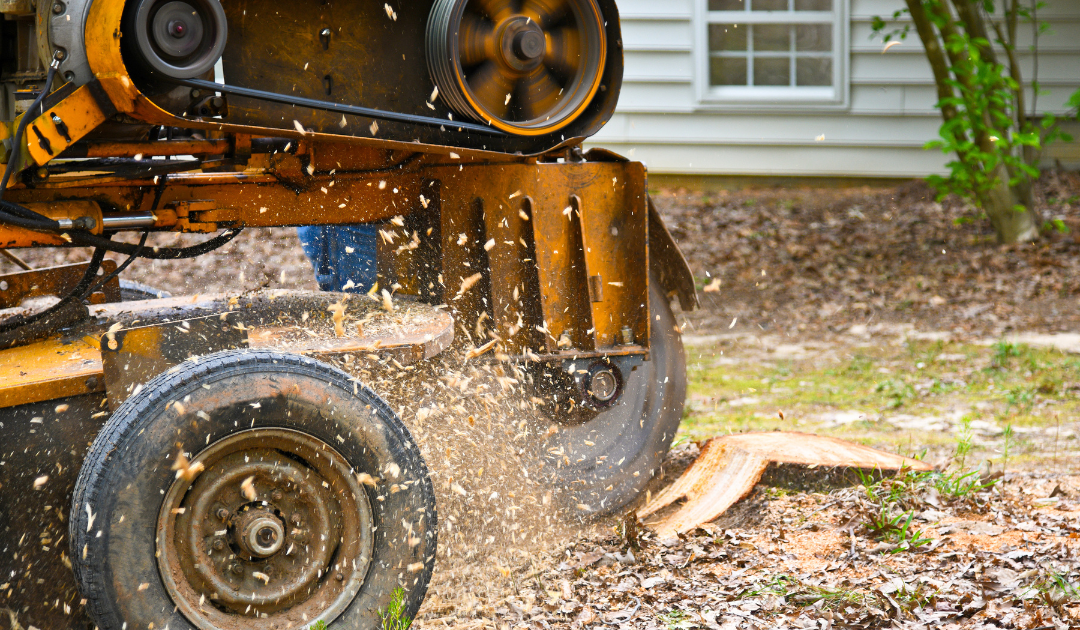
Step #4 – Setting Up and Operating the Stump Grinder
Once you’ve assessed your tree stump and cleared the area of debris, it’s time to bring out the heavy machinery. Yes, we’re talking about the grinder. But before you start grinding, there are a few things you need to do.
- Start by reviewing the manufacturer’s operating procedures. These guidelines will give you a clear understanding of using the grinder effectively and safely.
- Next, position the grinder right over the old stump. Stabilize the machine before starting. This might involve using your body weight or adjusting the machine’s settings. Remember, a stable grinder is key to smooth stump grinding.
- Now, make depth and sweep width adjustments according to the size of the tree stump and the extent of the root system. The larger the stump, the deeper and wider your sweep should be. But don’t rush—adjust these settings incrementally to ensure your stump removal success.
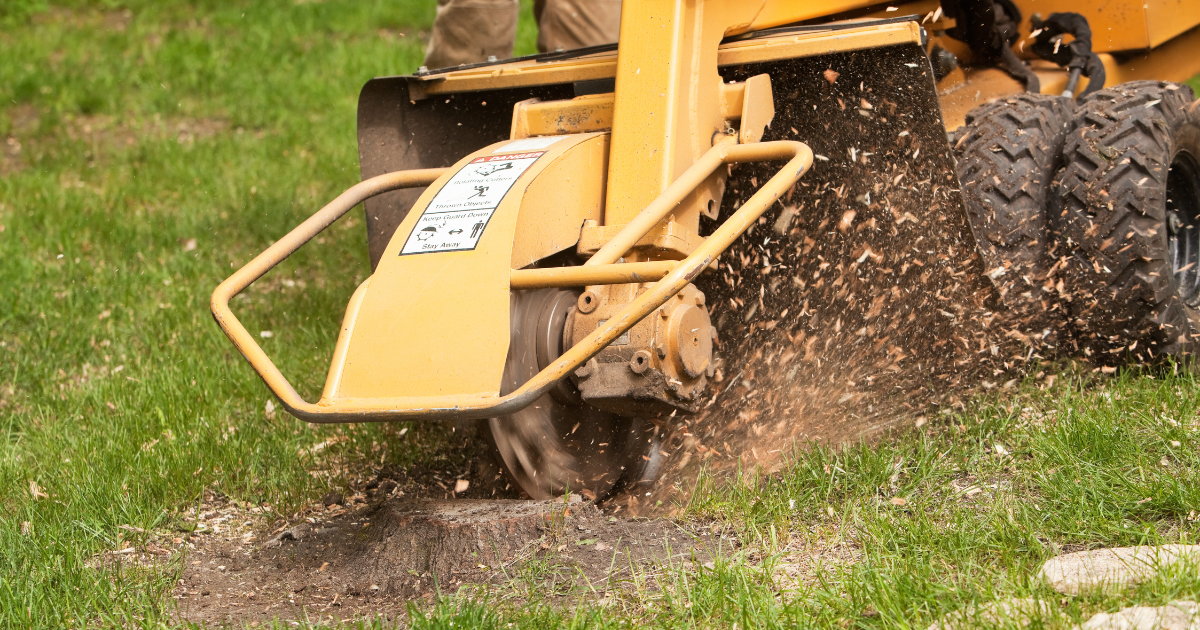
Step #5 – Grinding Technique
- The Angle of Attack: Position the grinder at optimal angles. This depends on the shape and size of the tree stump, but generally, a 45-degree angle works best to remove tree stumps.
- Grinding Motions: Use forward, backward, and sweeping motions while grinding. This helps remove the stump evenly and prevents the machine from jamming.
- Depth Adjustment: Start shallow and adjust the depth incrementally. You want to grind a few inches at a time—this ensures a thorough grinding process and reduces the risk of damaging the stump grinder.
- Efficient Grinding Order: Start from the edges and work towards the center. This is the most efficient order to grind sections of the stump.
Step #6 – Grinding the Stump in Sections
Grinding a tree stump is not a one-and-done task; it requires systematic work and a methodical approach. Grinding it in sections is the best method to tackle tree stump removal. This approach ensures success in your stump removal mission.
Start from the Outskirts
Begin from the outer edge of the stump, using the stump grinder to slowly eat away at the old stump. This systematic approach ensures you’re not missing any parts of the stump and makes the grinding process more manageable.
Go Deep, But Not Too Deep
Lower the machine incrementally, ideally in increments of 2-4 inches. This depth is enough to grind the stump effectively without putting too much strain on the stump grinder.
Sawdust Signals Success
Keep grinding each section until you see sawdust. This is a sign that you’ve ground down the stump enough in that section. You might have to re-grind previous sections if you don’t see sawdust.
Step #7 – Troubleshooting
Even with the right method, you might encounter obstacles during your stump grinding journey. Here’s how to troubleshoot some common issues:
- Very Large Diameter Stumps: Large stumps can be intimidating, but don’t fret. Simply break it down into smaller sections and tackle each section individually.
- Roots Under Structures: If tree roots extend under structures, avoid grinding these as they might cause damage. You might need the help of a stump grinding company or heavy equipment for these tricky situations.
- Grinding Wheel Wear/Damage: Regularly check your grinding wheel for wear or damage. Replace it if necessary to ensure efficient stump grinding.
- Clogs and Debris Buildup: Keep your work area clean. Remove any clogs or debris buildup in your stump grinder to prevent it from jamming.
- Unexpected Hazards: Always look for unexpected hazards like embedded metal or large rocks. These can damage your stump grinder and halt your stump removal mission.
Step #8 – Refilling the Hole and Cleaning the Area
After the stump grinding process, you’ll be left with a hole where the tree stump used to be. But don’t worry; this is an easy fix.
Backfill the Hole
Start by backfilling the hole with topsoil. Ensure that the soil slopes gently away from the center of the hole to aid in water runoff and prevent pooling. This is a crucial step in the natural process of land regeneration after stump removal.
Bring Back the Green
Next, replace the grass. You can either use sod for an instant lawn or plant grass seeds if you’re willing to wait a few weeks. Either way, soon, you won’t even remember a large stump there!
Clean-Up Time
Lastly, clean your equipment and gear of all sawdust and debris. A clean stump grinder ensures success in your next stump removal mission. Plus, cleaning your safety gear after each use is good practice to keep it in top condition.
Step #9 – Final Inspection and Safety Check
Now that you’ve tackled tree stump removal, it’s time for a final inspection and safety check.
Verify the Work
First, make sure the tree stump and roots are fully ground. You shouldn’t see any large pieces of wood or root balls. If you do, it might be time to rev up that stump grinder again.
Hazard Check
Next, check the surrounding area for hazards. This includes any leftover debris or potential tripping hazards like holes or uneven ground. A safe yard is a happy yard!
Equipment Review
Finally, review your stump grinder and other heavy machinery for any damage or wear. This ensures that your equipment is ready for the next time you need to remove a tree stump.
Post-Grinding Care and Maintenance
After successfully grinding your tree stump, more work remains to do. But don’t worry; this last bit is easy and will ensure your yard returns to its former glory.
Nurturing New Growth
Firstly, water and monitor the re-seeded grass regularly. Like any other plant, your new grass needs growing care and attention. It may take a few weeks, but you’ll soon see green shoots sprouting with patience and regular watering.
Responsible Debris Disposal
Next, it’s time to dispose of the debris from your stump grinding process. Always follow local guidelines when disposing of chips and other debris. Some cities allow for curbside pickup, while others may require you to bring it to a local waste facility. Either way, responsible disposal ensures you’re doing your part for the environment.
Conclusion: Successful Tree Stump Grinding
Stump grinding is a task that might seem difficult at first, but with the right method and a little elbow grease, it’s entirely doable. Remember to use safety gear and follow the steps laid out in this guide. Start by assessing the stump and preparing the area, then drill holes into the stump if necessary. Use a stump grinder to systematically remove the stump, making sure to grind a few inches deep each time.
Post-grinding, backfill the hole with soil, replace the grass, and clean up the area. Dispose of the debris responsibly and watch your newly seeded grass. Remember, the key to successful DIY stump removal is patience and preparation.
Whether you’re dealing with small stumps or large tree stumps, this guide gives you the knowledge on how to grind a tree stump correctly. So, put on your protective gear, start your stump grinder, and let’s turn those old stumps into chips!